
Headroom in mixing. You hear this nebulous term quite often in the world of mixing but it’s rarely explained. Let’s explain what is headroom in mixing and more importantly how to create it.
What is Headroom in Mixing

Headroom in mixing refers to leaving volume in your mix before sending it off for song mastering.
The headroom is the difference between the level the peaks of the mix reach in your finished mix and the point of clipping (see what is clipping).
You need some headroom on a finished mix, ideally at least 6dB, in order to use EQ, dynamics, saturation, and other effects on the master to get the final track sounding as good as possible.
As a mastering engineer with Music Guy Mastering for over a decade, I can personally say that when a client sends me a mix which comes in with too “hot”, meaning too loud, there’s little to no headroom to work with.
Despite notices on the website, I constantly get mixes which clearly have come in with a limiter on them and peak at 0dB, the point of clipping.
With little or no headroom, there’s no further processing or enhancements I can apply in the mastering stage.
Leaving more headroom doesn’t mean turning down the output fader. There are effective ways of how to make your music louder without sacrificing dynamics or what makes your mix sound alive, so let’s talk how to get more headroom.
How to Get More Headroom
Here are a few tips on how to get more headroom in your mix transparently without having to squash everything with compression.
Use Gain Staging on Every Track
Gain staging is the process of keeping the input levels of every track in your mix in the sweet spot. From recording to sending the signal through each plugin in your chain, you generally want to average -18dB with peaks of -12dB.
This is easy to do when you begin every mix with gain staging in mind. I covered the entire process in my gain staging cheat sheet, so refer to that.
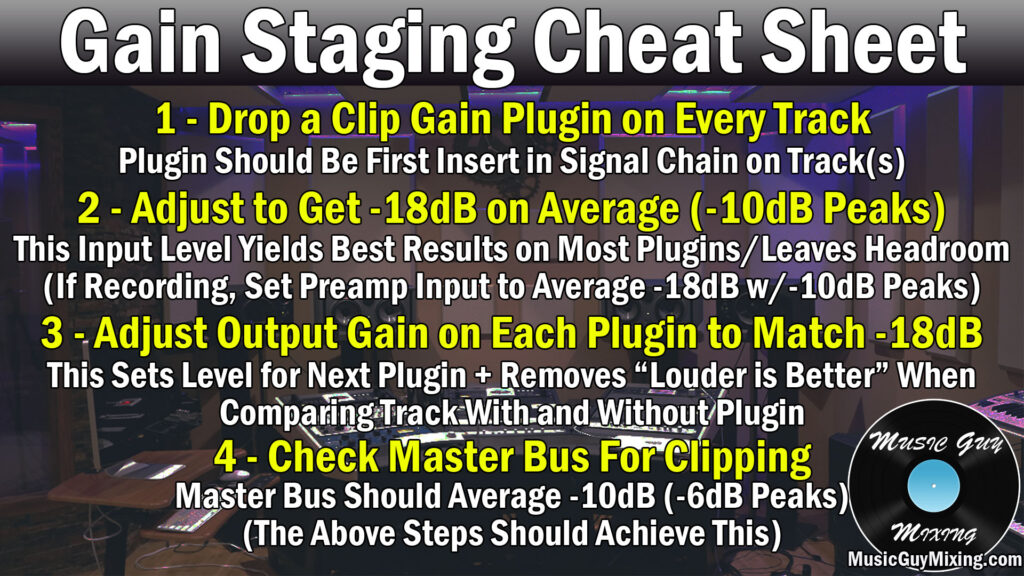
Repeating this process on every track in your mix becomes second nature eventually. It keeps your audio sounding its best through every step of its processing, and it’s a great method for how to get more headroom as you’ll typically have -6 to -10dB of headroom on your mix bus regardless of how many tracks you have if you keep gain staging in mind.
High Pass Filter Everything
A high pass filter allows higher frequencies to pass through while filtering out lower frequencies.
Most tracks don’t have anything musical or necessary happening below 100Hz (as a rough starting point). At the same time, a lot of low end information can build up here on tracks including ambient noise picked up by microphones, electronic noise, or unwanted or even unheard low end musical frequencies on the instrument that are simply muddying up your mix.

While you might not even notice this noise unless you solo a track and turn it up in that specific area, it’s still having an effect on your mix. There was the aforementioned muddying/clogging up the mix, but it also eats into your headroom unnecessarily.
In other words, frequency information you can’t even hear limits how loud your finished mix and master can be.
Add it up over dozens of tracks in your mix, and we’re talking the difference of a few dB, all from frequencies you can barely hear.
This is why you want to high pass filter everything in your mix, removing frequencies which aren’t adding to your tracks. This cleans up your mix and also adds a few extra dB of headroom, allowing for a naturally louder master.
Check out my EQ cheat sheet for my guide on where to high pass filter every single track individually in your mix.
Low Pass Too
Lower frequencies we can’t hear tend to eat up more headroom than high frequencies we can’t hear, but there’s still some headroom to be gained on the high end, as well.

While not having the same effect that high pass filtering has, we can low pass every single track in our mix, as well. Not so low as to noticeably cut into the clarity of your mix or any individual tracks, but low passing everything starting around 20k or the upper limit of what people can hear will add a little headroom, as well.
Again, refer to my free EQ cheat sheet for the specific areas to low pass all of the tracks in your mix, as well.
Use a Hard Clipper on Kick + Snare
Because headroom is dictated by the loudest peaks in your mix, the main things which take away headroom are the bursts of transient energy which occur on certain dynamic instruments like your kick and snare.
When that snare hits, you get a very short lived but loud peak from the transient snap of stick on snare.
The same thing happens when the beater of the kick drum makes contact with the cover of the drum itself.
Layer these two things together on certain beats, and you can get a huge combination peak which eats into your headroom.
Applying a hard clipper to both your kick and snare can literally shave off a few dB from each transparently, meaning it will sound the same with or without the effect on.
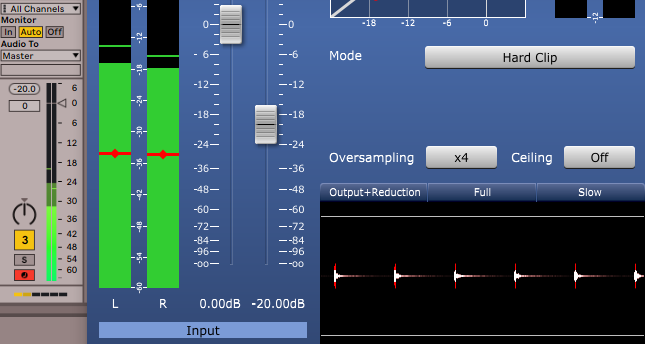
I recently talked about how to use a hard clipper, so refer to that on how to free up a few dB on the loudest transients in your mix to get more headroom without altering the sound of anything.
Headroom in Mixing
- Headroom in mixing is the difference between the peaks of your mix and the point of clipping.
- Leaving at least 6dB (or having your mix peak at -6dB) is ideal before the mastering stage to allow the mastering engineer to add processing to enhance your mix. Without headroom, no enhancements can be made.
- Use gain staging in the recording and mixing stages to keep all of your tracks well below the point of clipping to make your tracks sound their best and leave headroom.
- High and low pass filter every track in your mix to remove unwanted noise and unnecessary frequencies to clean up your mix and create more headroom.
- Use a hard clipper plugin on your loudest peaking tracks like the kick and snare to shave off a few dB from each without altering their sound, easily creating a few more dB of transparent headroom in the process.
Pingback: Low End Mixing Tutorial - How to Get it Right Every Time - Music Guy Mixing
Pingback: What is Normalize Audio - Should You Normalize Audio? - Music Guy Mixing