In a live environment, live vocal compression is just as important as when you’re doing it in the box. Of course you don’t have the granular level of detail that you have while mixing in the box and especially when the results aren’t being heard in real-time, so let’s cover the best live vocal compression settings to dial in to keep your vocal sitting just right in the busy and oftentimes chaotic context of a live setting.
Live Vocal Compression
First, let’s take a look at this snapshot of the best live vocal compression settings to use before we take each one on a parameter by parameter level for more detail:

Now let’s go one parameter at a time to explain why I recommend what I do.
Threshold
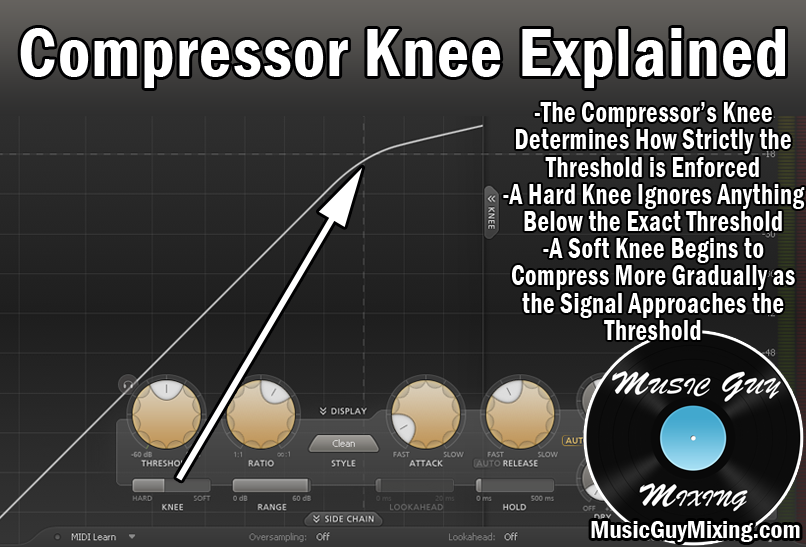
The compression threshold determines the level your live vocal must reach before compression happens.
You typically want to set the threshold to the average level of the vocal in live vocal compression. If your vocal peaks typically on those higher notes at the highest energy moments of the performance are hitting -10dB and the quieter parts are coming in around -20dB, aim for around -15dB if not a bit higher (louder).
This ensures that you’re not boosting ambient noise that the microphone tends to pick up more often in a live situation by way of the makeup gain. It also ensures you’re primarily attenuating those peaks in the vocal which are the main target of the compression to begin with.
You don’t need the vocal to stay on top of the mix quite as often or urgently in a live setting as in the studio and a bit more dynamics are natural, particularly if the vocalist doesn’t always keep the microphone right in front of their mouths as is typically the case when performing is almost as much of the delivery as the words themselves.
Ratio
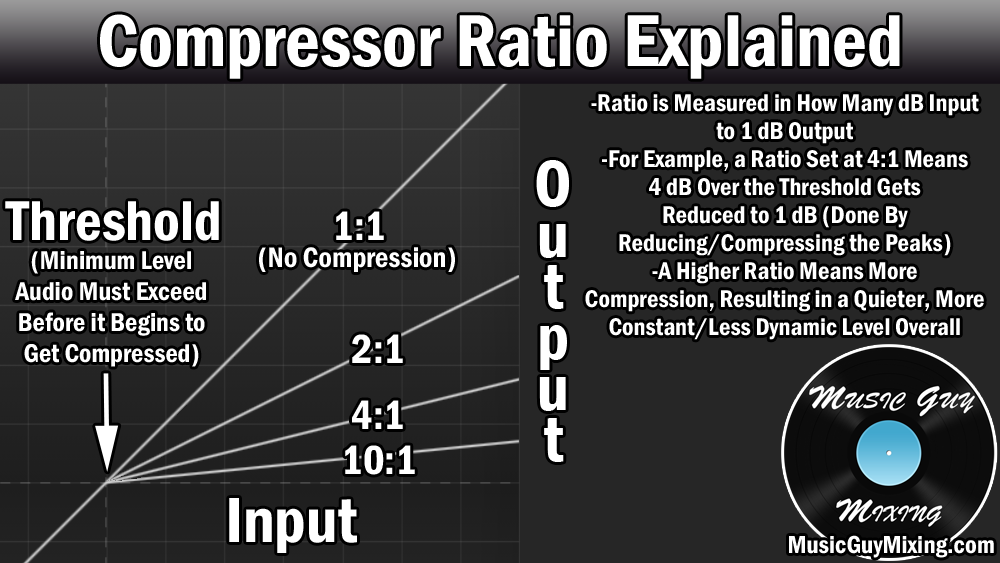
Similarly, I prefer a slightly more conservative, lighter compression ratio in live vocal compression as compared to the studio.
Specifically, in live vocal compression, I recommend a ratio of 3:1. This means that every 3 decibels which exceed that threshold we just set, they’ll be output by 1 (attenuated by 2dB). Ideally you’ll be aiming for somewhere in the 4-8dB of gain reduction on average.
A 3:1 ratio is more about smoothing out those peaks on the loudest, belted-out notes than controlling them with the more aggressive 4:1, 6:1, or even 8:1 I oftentimes use on studio vocals.
If you need that vocal a bit more up-front, bump it up to 4:1, but note that upfront vocal compression doesn’t work as well in a live setting, or better said doesn’t sound quite as natural.
This is more of a rule of thumb – when you’ve got a vocalist who is a constant belter or screamer, you can certainly find that 8:1 works better or is necessary.
Attack
The compressor’s attack is the delay before compression occurs once the threshold is met. The obvious question is why would you want to delay the compression?
The first part of a vocal is referred to as its transient. Also known as its “punch”, in the case of the vocal this is the sound it of the front end of the hard consonant sounds like the “bite” if you will on a hard “T” sound.
The transient helps the vocal assert itself and cut through a busy mix. This is useful when you’ve got the vocal’s level where you want it but it’s still not quite sitting in the mix as you’d like.
For live vocal compression attack, I like 3ms (milliseconds) to give those consonant sounds just enough time to come through uncompressed before the compressor snaps down on the remainder of the sound.
While 3ms might not seem like much/long, this is enough to keep the vocal sitting just right while still getting those back-end benefits of the compressor.
Release
The release on the compressor is how long it takes for the compressed signal to revert to uncompressed, or that compression to fully let up.
If you don’t have enough/long enough of a release, this will result in an abrupt snapping sound where you can hear the compressor working which you generally don’t want, at least on vocals.
Set your live vocal compressor’s release to 100ms creates a generous, natural sounding off-ramp for the vocal to revert to its uncompressed state when necessary and ensures you don’t compress more than you need to.
Output Gain
Lastly, as always with compression, make sure that you adjust your output gain to make up for the gain reduction created by the compressor. I recommended averaging 4-8dB in gain reduction, but set this accordingly to offset that so that the vocal should sound approximately the same level with or without compression.
Auto-makeup gain works to reactively add gain back in based on how much the rest of the settings take from beat to beat which works especially well for a live setting, as well.
With the above live vocal compression settings, your live vocal should be sitting much better in your next live mix.
Refer to my other live mixing tips for more information on getting EVERYTHING sitting just right.