Microphone placement is a huge aspect of getting the perfect recorded tone for your guitar. Note that a perfect tone is in the ears of the beholder, so let’s talk how to mic a guitar cabinet to explain how different microphone placements affect the tone to find YOUR perfect tone.
How to Mic a Guitar Cabinet
When it comes to discussing how to mic a guitar cabinet, it really boils down to three things: the microphone itself, the microphone’s orientation to the speaker, and the microphone’s distance from the speaker.
Let’s take them one by one, first by briefly discussing the best TYPE of microphone to use in miking a guitar cabinet.
Microphones fall into the condenser or dynamic categories.
A condenser microphone is more sensitive and better suited for recording instruments acoustically, or specifically quieter instruments with a lot of nuance in the dynamic peaks from sample to sample.
If you’re recording acoustic guitar or vocals, a condenser is the way to go.
Conversely, when you’re recording a louder source or a source in a louder environment, a dynamic microphone is typically the best option.
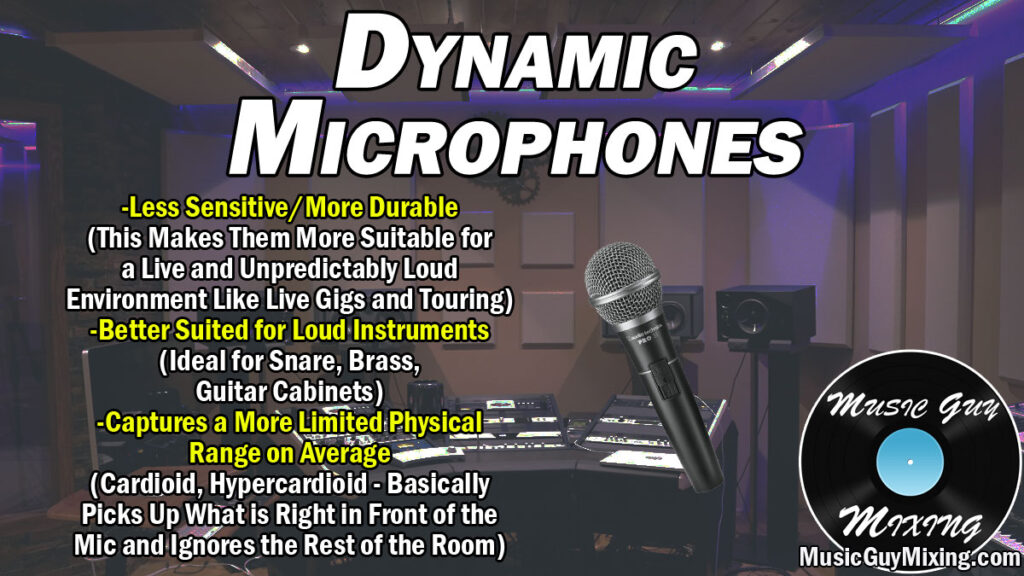
As you can see, dynamic microphones are the best choices for recording electric guitar cabinets.
Guitar amps typically sound best when they’re cranked up as this allows the true character of both the guitar’s electronics and the amplifier itself to come through.
Because of their durability and lower sensitivity, dynamics work quite nicely when capturing a loud source which doesn’t have a lot of dynamic range regardless of whether you’re doing some finger picking with a cleaner tone or full on distorted power chords.
The SM-57 from Shure is typically the go to example when it comes to recommending an affordable but fully serviceable microphone for miking a guitar cab:

It’s been around for decades, it’s relatively dirt cheap at typically under $100 (and at a price point which practically never changes), and its cardioid dynamic setup makes it ideal for faithfully capturing the sound of whatever loud instrument source is right in front of it.
Whether you go for or use an SM-57 or not, a dynamic cardioid microphone is typically the best microphone for guitar amp recording.
Microphone Placement
Once you’ve got the right microphone, it’s all about putting it in the right spot.
First, it’s important to keep in mind the size, shape, and surfaces of the room will impact the sound by impacting the reflections.
A larger room will carry more reflections, so you’ll hear more of the “room” in the tone.
You can mitigate this by way of your microphone placement, so let’s take a look at how to mic a guitar cabinet:

As you can see and as previously mentioned, two primary factors drive the character of the sound with regards to the position: distance and position from and relative to the speaker, respectively.
Distance
The closer the microphone is from the speaker/surface of the amp itself, the drier the tone will be.
You’ll pick up more of the character and tone of the amp itself by minimizing the sound of the room.
Generally speaking, this means within 1-12 inches away from the speaker, meaning physical distance from the surface of the amp.
Alternatively, if you want a slightly smoother sound, possibly to round off the edges of the bridge pickup setting you like playing on, you can move it back.
Placing the microphone 12-36 inches from the surface of the amp gives you a lot more of the room and reflections blended in with the tone of the amp for a kind of natural reverb.
Position
The position of the microphone to the speaker works in a similar way in determining the character of the tone whether it be sharper and brighter or rounder and darker.
Leaving the microphone dead center relative to the center of the speaker gives you the best representation of the tone of the guitar through the amp itself with no reflections or minimum reflections muddying up or blending with that tone.
This also means a brighter and potentially harsher tone than you want.
Moving the microphone a bit to the left or right off center of the speaker will immediately begin to blunt or smooth out that brightness to give the microphone a warmer, rounder tone.
I like to adjust this depending both on the sound of the tone itself obviously, but also bearing in mind the role of the guitar in the song for that track.
If it’s a lead guitar part, a solo, or just an instance where the guitar is playing a greater role in the mix, I may favor a more direct on approach.
Conversely, if it’s more of a supporting part or I know that I literally want that guitar track a bit farther back in the mix, moving it off center (along with moving the microphone farther away from the amp itself) is a good way to do that.
Note that this is more for a single speaker amp. When you’ve got multiple speakers within a single cab, you can adjust the microphone’s position to get different blends between the speakers, but the concept is ultimately the same.
How to Mic a Guitar Cabinet Reviewed
In summation, placing your microphone dead center with the middle of the speaker and immediately in front of the surface of the amp will result in a brighter and drier tone which is entirely representative of the amp itself.
Moving the microphone a bit off axis of the center of the speaker and/or physically farther away from the surface of the amp itself will darken the tone, add warmth, and blend more reflections and sound of the room for some natural reverb.
There is no perfect way of how to mic a guitar cabinet as the perfect spot will vary from listener to listener or at the very least with what your objective is with that particular guitar track.
One last thing to mention – if you’ve got the microphone essentially touching the amp but still aren’t getting the dry sound you want, you can mitigate the room’s effect by surrounding the microphone with a bit of sound dampening.
You can honestly do a crude yet effective job of this by constructing a little pillow fort extending beyond the sides of the amp and over the microphone to get a really tight, dry sound.
I don’t say this to suggest it’s necessary, but rather to mention it as an option if you’re not getting the dry sound you want at first.
Of course the on board amplifier tonal controls like EQ plus any other processing you got in the signal chain which is going to be part of the captured signal will have just as large a bearing over the tone, if not more so.
Still, now that you have a better idea of how the microphone itself as well as the placement and distance from the source that is the speaker of the amplifier affect the tone, you can adjust that to find the perfect blend of all of the elements to create your ideal recorded guitar tone no matter the goal.