
A limiter is a useful tool for a number of different applications across both audio mixing and mastering. Essentially a compressor with extreme settings, let’s talk how to set up a compressor limiter in some common situations.
How to Set Up a Compressor Limiter
What differentiates a normal compressor from a compressor limiter is its ratio.
A compressor’s ratio is the degree to which the volume which exceeds the threshold is attenuated:

As the graphic above explains, a 4:1 ratio means every 4 dB which exceed the threshold will be output and exceed the threshold instead by 1dB. The higher the ratio, the more you’re effectively turning down the average level of your audio and its peaks by more aggressively attenuating those peaks.
Keep turning the ratio up and you can see the output line gets flatter and flatter. The result is the output is virtually always the same regardless of how many decibels you feed it over the threshold.
Setting the threshold to the max turns the compressor into a limiter so that it essentially enforces a ceiling which the audio cannot exceed, regardless of how loud any peaks are.
The effect of a compressor limiter is you completely smooth out and otherwise reduce or even remove the dynamics of your audio.
On a track level, this is useful when you need to keep a track constant and otherwise up front in the mix.
A good application of how to set up a compressor limiter is on your bass guitar. Bass is typically one of the more dynamic tracks in your mix, especially for a more complicated bass part which hits a lot of notes low to high.
The bass is an integral part of the bedrock of your mix’s rhythm and timing, so you want its presence constantly heard and felt, and a compressor limiter is an effective way to accomplish just that.
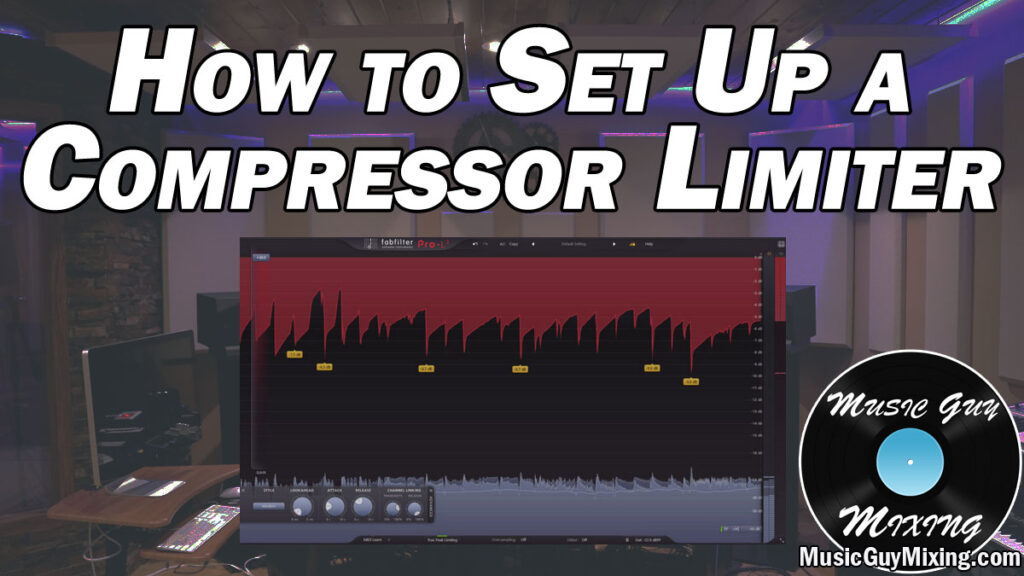
To illustrate how to set up a compressor limiter for your bass, here is a snapshot of the settings I dialed into FabFilter’s Pro-L limiter:

The attack is set to around 40ms, meaning it will wait forty milliseconds before any limiting is applied. This helps the initial punch of the bass to come through (the percussive sound of pick or fingers on the strings) which in turn helps to additionally keep the bass visible in the mix.
The release is set to around 100ms or a tenth of a second which helps to keep the bass up front even when the threshold is no longer met.
The main setting is the gain slider which effectively sets your compressor limiter’s threshold. Raise this to simultaneously raise the output level and see the gain reduction increase on the right. I typically aim for around -10dB in gain reduction in how to set up a compressor limiter on bass, but this can vary from mix to mix. It’s about finding that sweet spot where the bass’ level is consistent.
Not only does a compressor limiter on your bass help keep it visible and constant, it obviously makes setting its level relative to the rest of the mix much easier.
Compressor limiters aren’t just useful on a dynamic bass but really they can be applied to any excessively dynamic track in your mix.
When you want to ensure that you keep your vocal in the front in the mix, a limiter can be used just like with the bass track to keep the level nice is consistent. This ensures that not a single word or syllable is lost (see my tips for up front vocals).
There is, of course, always a tradeoff in using a compressor limiter like this. When you sacrifice dynamics, you strangle out some of the life and natural quality of the vocal because vocals (and audio in general) are inherently dynamic. The vocalist doesn’t deliver every syllable at the same volume; there are natural rises and falls in the intensity from beat to beat and word to word.
As such, you run the risk of making the vocal sound a bit robotic which can cause the listener to subconsciously tune that vocal out.
With that in mind, limiting your vocals won’t work as well for some genres.
For the genres which are more vocal-centric, like pop and rap, you can get away with hitting that threshold harder as you’re encouraged to keep that vocal front and center in the mix for its duration.
Using a compressor limiter in the mastering stage is arguably the most common application of limiters in audio production.
This is because they allow you to maximize the volume of your entire mix while imposing that ceiling to discourage clipping.
Admittedly this used to be much more important, the idea of squeezing every last fraction of a decibel from your master before release to make your song sound as loud as contemporary masters and releases.
I talked about this in covering the loudness war, that practice from the 90’s and on of maximizing the volume of a release so it sounded as loud if not louder than the next or last song because louder was perceived to the ear as being better.
Today with the popularity of music streaming services which normalize audio in their libraries as a default feature and thus automatically adjust the levels of everything in said libraries to be roughly the same volume (unless that setting is turned off), maximizing the volume of your master isn’t nearly as important as it once was.
I still make use of a limiter or maximizer on my masters, but using my tips on how to make a mix louder in the mixing phase, I don’t have to push the limiter as hard. This results in a better sounding final release which maintains a lot of its natural dynamic range which in turn helps keep the listener engaged courtesy of the contrast between the quieter and louder sections.
There are a lot of applications for compressor limiters, so check out my many tutorials on compressors in your next mix to get the most out of one of the most useful tools in the mixing engineer’s belt.

Just discovered your site, and I’m really happy to have found it! Lots of good info here and explanations of things that a lot of tutorials just assume without defining.
Thank you!