
There are a lot of ways to use reverb. It especially works great on vocals as I showed in the best reverb settings for vocals, but how about something to add a little ear candy to your vocals? Let’s talk about a couple really cool Ableton reverse reverb tricks which can add some excitement to your vocal. Note that Ableton Live is my DAW of choice, so the steps will be specific to it, but you can easily replicate these in your DAW using its equivalent commands.
Ableton Reverse Reverb

This first Ableton reverse reverb trick can be used layered alongside your dry vocal. It’s also the common technique we think of when we’re talking about reverse reverb in Ableton.
Step 1 – Duplicate Your Vocal

First, decide which vocal track you want to use this trick on. Duplicate that track so it has all of the same processing.
Step 2 – Consolidate (if Necessary) and Reverse Track
If your vocal takes place over multiple clips, select them all, right click and select “Consolidate”.

This will create one seamless track which all subsequent changes will affect as a whole.
Now that we have a single track, right click and select “Reverse Clip(s)”.
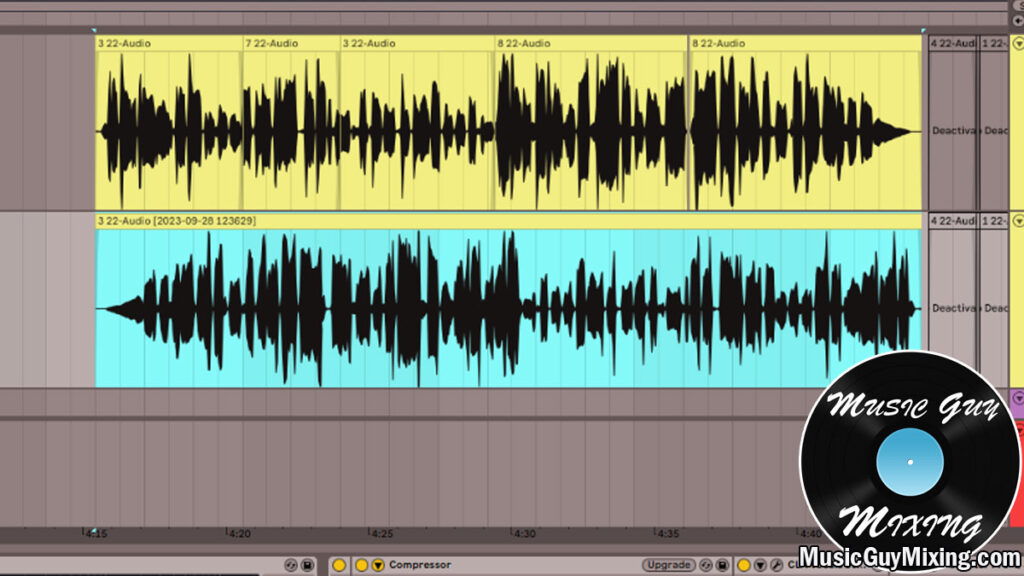
Now we have the same track playing backwards.
Step 3 – Add Reverb
Now we can add our reverb of choice. I dropped FabFilter’s Pro-R on with the default settings as shown below which incidentally I find works well for this. Make sure it’s set to 100% wet as we want all reverb effect on this track.

Step 4 – Freeze, Flatten, Reverse
Now that we’ve got the reverb on the track, we need to right click on the name of the track and select “Freeze Track”.
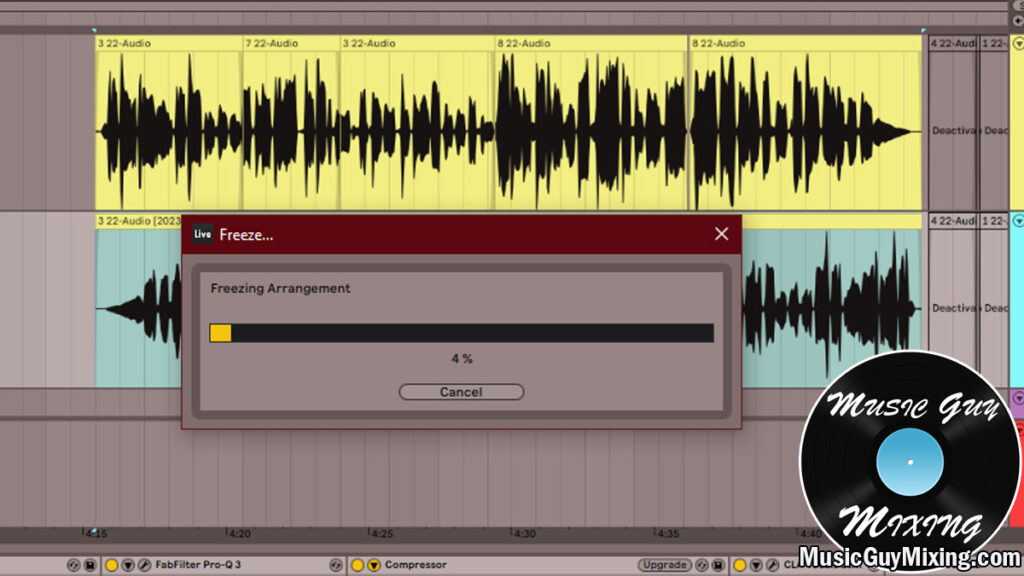
This will take a minute or so depending on how much audio you have on that track.
Once it’s finishing freeze, right click on the name of the track again and you’ll see a “Flatten Track” option below “Freeze Track”. Select this and it will unfreeze the track with any effects you had on it baked in. Those effects like the reverb are now part of the audio itself.

Now we simply reverse the track one more time so that it’s playing in the right direction.

You’ll hear the reverb effect coming and going on the vocal now, so you get some reverb fades along with tails, producing a neat effect, especially when played underneath our dry vocal we duplicated it from.
Step 5 – Align (Optional)
Lastly, align the new track alongside with the dry lead vocal.
This might not always be necessary, and if it’s slightly off, you might prefer it to be slightly off time.
All you have to do now is blend the level where you want it underneath the dry lead to enjoy the benefits of a reverb lead and tail for every part of your vocal.
Reverb Fade/Lead on Vocal (or Snare, etc.)
Let’s also cover a tried but true method to build anticipation for a vocal or snare hit.
This works particularly well after a break or just when you’re transitioning into a section of a song you want to call more attention to like the chorus.
This is even easier to do, particularly in Ableton Live.
Step 1 – Create a New Track and Paste Part of Vocal
First let’s create a new track. I went ahead and grouped my inserts together, then copied and pasted that group onto my new track so the processing is the same.
Now we need to copy and paste a very short clip of that vocal which we’ll use for the fade.
Normally you’d take the first bar or part of a bar of the vocal you want to reverb fade into.
For the vocal part I want to create a reverb fade in for, there’s a percussive quality at the start I don’t want. Instead I’m taking a quarter of a bar slightly shortly after the sharper transient which makes for a smoother clip.

I also wanted the same compression and everything I had on the original track, so I grouped all the inserts and copied and pasted that group on the new track.
Step 2 – Add Reverb and Reverse
Once again we want to add a reverb and once again we want it set to 100% wet. I used similar settings to the last reverb I used, but increased the size/time of it to make it a bit thicker and heavier which works well for a fade.
Let’s reverse the track now. This is especially important if you’ve got the first bar of the vocal from the start to make a really nice reflection of fading into the part from reverse.
Step 3 – Align, Double Time, and Consolidate as Necessary
Now we want to move it to just before the dry vocal starts. The problem is it’s too short as is. I want a longer fade in to really tease that vocal.
Don’t drag the sides of the clip as this will bring in surrounding parts of the vocal we don’t want (incidentally we can right click the clip and select “Crop Clip(s)” to ensure it cuts off everything to the left and right and we’re only left with what we want.
To lengthen the clip, click on the “Double Time” button in the clip view at the bottom of the screen.

This doubles the length of the clip up to two times.
Once the clip has been lengthened, adjust the alignment as necessary to fade into the dry vocal track. You may need to change the warp setting to “Pro” to smooth out the warped clip. Pro works especially well on vocals.
If the clip is still too short, right click it, select “Consolidate” like we did earlier, and this will make a new clip which is ready to be lengthened again via the double time button should you need more of a fade in.
Step 4 – Automate
I like to automate the gain and sometimes even the settings of the reverb themselves to provide a little more of a dynamic element to that effect.
Specifically I like to automate the gain from quiet to reaching the volume of the dry vocal by the time of the transition.
Sometimes I like to dial back the wetness from 100% so that it feels like that vocal is getting closer in distance as we reach the point of transition, as well.
That’s essentially the process, though. You can do the same thing for a snare fade, getting reversing its fading reverb tail to build into the dry snare hit.
Try both of these effects on virtually anything in your mix whether you want that cool background effect from the first Ableton reverse reverb trick or you want to tease and build anticipation with a fade in on any other track in your mix. As always, the only limit is your imagination!
Pingback: How to Make Your Own Reverse Cymbal Sample in Seconds - Music Guy Mixing